Whether you’re recording a podcast, music, or voiceovers, audio quality can make or break your project.
One often-overlooked tip for achieving professional-grade sound is leveraging room acoustics. The space you record in significantly affects sound clarity, and with a few tweaks, you can turn any room into a recording-friendly environment. Here’s how to optimize your room’s acoustics for crisp, clean audio in 2025.
Sound waves bounce off walls, floors, and ceilings, creating reflections that can muddy your recordings. Hard surfaces like glass or bare walls cause harsh echoes, while soft surfaces like carpets or curtains absorb sound, reducing unwanted reverb. The goal is to create a balanced acoustic environment—neither too reflective (echoey) nor too dead (muffled). Start by assessing your recording space, whether it’s a home office, bedroom, or studio.
Choose a room with minimal external noise—avoid spaces near busy streets or appliances. Small to medium-sized rooms work best for most recordings, as large spaces can produce excessive reverb. Once you’ve picked your spot, address reflections. Place your microphone away from walls, ideally in the center of the room, to minimize echo. A good rule of thumb is to keep the mic at least 3 feet from any hard surface.
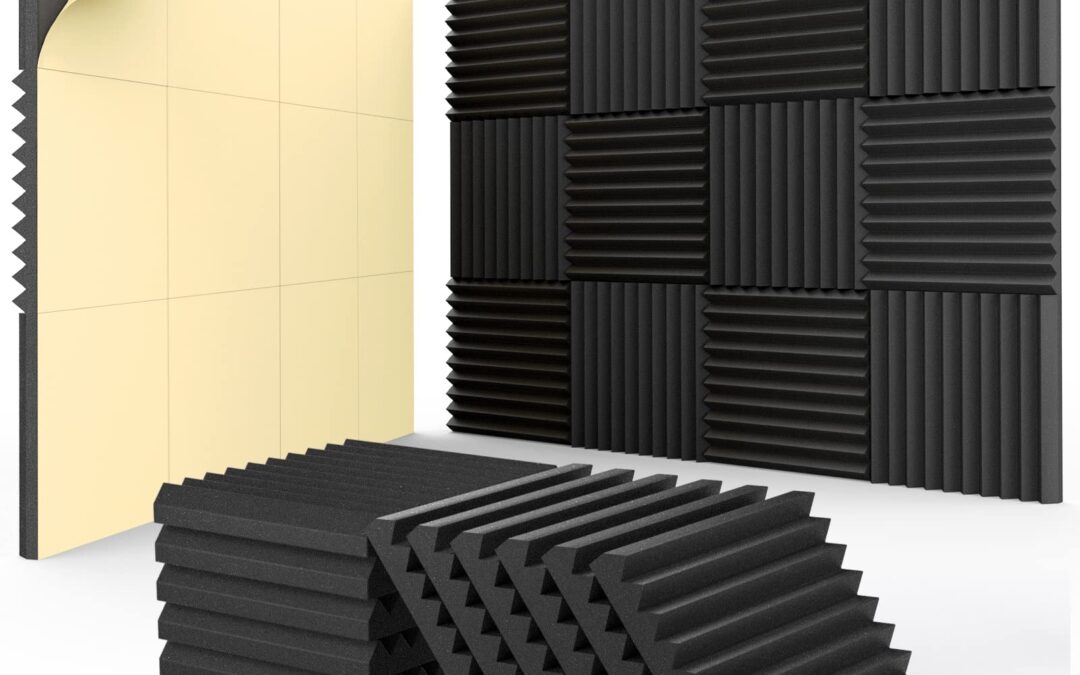
Add soft furnishings to absorb sound. Hang heavy curtains, lay down a rug, or place pillows strategically. For a budget-friendly solution, drape blankets over furniture or use moving blankets as temporary wall coverings. Acoustic panels, available for $20–$50 each online, are a step up and can be mounted on walls or ceilings. Foam panels are popular, but denser materials like rockwool offer better absorption for low frequencies, which is crucial for deep voices or bass-heavy instruments.
For podcasters or voiceover artists, consider a portable vocal booth or reflection filter. These attach to your mic stand and shield the microphone from room reflections, costing $50–$150. Brands like Aston Microphones or sE Electronics offer affordable options in 2025. If you’re on a tight budget, record inside a closet filled with clothes—the fabric naturally dampens sound.
Mic placement is key. Use a cardioid microphone (like the Shure SM7B or Audio-Technica AT2020) to capture sound primarily from the front, reducing room noise. Position the mic 6–12 inches from your mouth, slightly off-axis (not directly in front) to minimize plosives (popping “p” sounds). Use a pop filter for extra clarity.
Test your setup by recording a short sample and listening back with headphones. If you hear echo or hollowness, add more soft materials or reposition the mic. Software like Audacity (free) or Adobe Audition can help analyze your audio for unwanted frequencies. For advanced users, EQ can cut low-end rumble (below 80 Hz) or high-frequency harshness (above 10 kHz), but optimizing the room first reduces the need for heavy editing.
Don’t overlook ceiling reflections, especially in rooms with low ceilings. A cloud panel (a hanging acoustic panel) or even a suspended blanket can help. If you’re recording music with multiple instruments, use gobos—portable partitions—to isolate sound sources and prevent bleed.
Stay updated on audio trends via X, where engineers share real-time tips. Recent posts highlight DIY acoustic solutions, like building panels with household materials. Experiment with small changes, like moving your desk or adding a bookshelf, to break up sound waves. Each room is unique, so test and tweak until your recordings sound clear and professional.
By optimizing your room’s acoustics, you’ll capture cleaner audio with less post-production hassle. This tip is a game-changer for anyone serious about sound quality, from podcasters to musicians.
Contact
Interested in exploring creative possibilities with Dream Maker Media? Send us a message!