Key Takeaways
- Setting your DSLR’s shutter speed to double your frame rate creates smooth, film-like motion.
- Use variable ND filters to control exposure without sacrificing depth of field.
- Watch out for moiré patterns when shooting detailed subjects like fabrics or grids.
- Practice and test settings to perfect your videography skills for professional results.
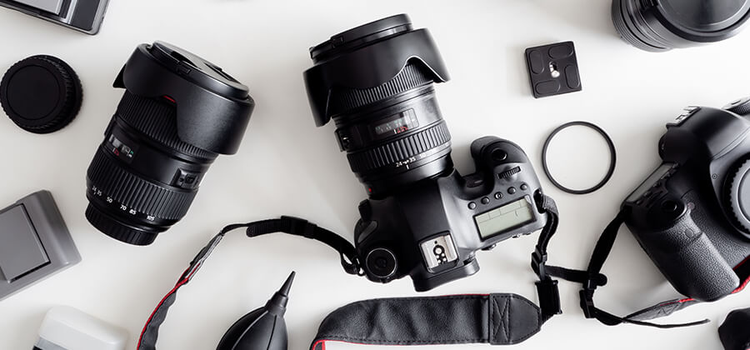
If you’re diving into videography with a DSLR camera, you’re already on the path to creating some seriously impressive content. Whether you’re shooting for a client’s creative services project, a short film, or even architectural visualization (archviz) to showcase stunning 3D designs, getting the most out of your DSLR can make all the difference. One game-changing tip can elevate your footage from amateur to cinematic: nail your shutter speed and pair it with the right tools. Let’s break down how to do it, why it works, and how it can level up your videography game for creative services like videography, graphic design promos, or even web design marketing content.
The Golden Rule: Shutter Speed and Frame Rate
Here’s the tip that’ll make your videos pop: set your shutter speed to roughly double your frame rate. If you’re shooting at 24 frames per second (fps), aim for a shutter speed of around 1/50. For 30 fps, go for 1/60. Why? This mimics the motion blur our eyes naturally perceive in films, giving your footage that smooth, professional, cinematic look. It’s a small tweak, but it’s a cornerstone of great videography, whether you’re capturing a brand’s story for marketing or creating visuals for a graphic design portfolio.
This shutter speed trick is rooted in the 180-degree shutter angle rule from traditional film cameras. It ensures that each frame captures just the right amount of motion blur—not too much to look smeary, not too little to feel choppy. For creative services, this is gold. Imagine shooting a sleek promo video for a web design agency or an archviz walkthrough of a 3D-rendered building. That smooth motion can make your work stand out, grabbing attention on social media or a client’s website.
Pair It with Variable ND Filters
To make this work in different lighting conditions, you’ll want a variable neutral density (ND) filter. These handy tools act like sunglasses for your lens, letting you control exposure without messing with your aperture or ISO. Why’s that important? Keeping your aperture wide (like f/2.8 or f/4) gives you that dreamy shallow depth of field, perfect for isolating subjects in videography for creative services—think a crisp logo animation for a graphic design project or a stunning archviz interior shot. By using a variable ND filter, you can stick to your ideal shutter speed and aperture, even in bright sunlight, without overexposing your footage.
Variable ND filters are adjustable, so you can dial in the exact amount of light reduction. They’re a must-have for videographers working on creative services projects, from promotional videos for web design firms to 3D visualization content for real estate marketing. Just screw one onto your lens, twist to adjust, and you’re good to go. Pro tip: invest in a quality filter to avoid color casts or loss of sharpness.
Watch Out for Moiré Patterns
One thing to keep an eye on when shooting with a DSLR is moiré patterns—those weird, wavy distortions that can appear when filming detailed subjects like fabrics, grids, or even architectural textures in 3D visualization projects. Moiré happens because of the way your camera’s sensor interacts with repetitive patterns. To minimize it, avoid super-tight patterns, slightly adjust your focus, or change your shooting angle. If you’re filming for an archviz project showcasing a building’s facade or a graphic design ad with intricate textures, test your shots to ensure moiré doesn’t sneak in and ruin the vibe.
Why This Matters for Creative Services
Whether you’re a freelancer offering videography, graphic design, or web design services, or you’re creating content for 3D visualization and archviz, this tip can set you apart. Clients in these fields want visuals that feel polished and professional. A cinematic video with smooth motion can make a website’s homepage pop, elevate a graphic design portfolio, or bring a 3D-rendered building to life for real estate marketing. Plus, nailing these basics shows you’re serious about your craft, which builds trust with clients looking for creative services.
Practice Makes Perfect
Don’t just set it and forget it. Experiment with different frame rates and shutter speeds to see how they affect your footage. Try shooting at 60 fps with a 1/125 shutter speed for slow-motion shots, perfect for dramatic reveals in archviz or action-packed marketing videos. Test your ND filter in different lighting scenarios to get comfortable adjusting it on the fly. The more you practice, the more intuitive it’ll become, and soon you’ll be churning out footage that looks like it belongs in a Hollywood trailer.
Final Thoughts
Mastering your DSLR for videography doesn’t require fancy gear—just a solid understanding of the basics and a few smart tools. Setting your shutter speed to double your frame rate, using a variable ND filter, and dodging moiré patterns can transform your videos into cinematic masterpieces. Whether you’re creating content for videography, graphic design, web design, 3D visualization, or archviz, this tip will help you deliver professional results that wow clients and viewers alike. So grab your DSLR, tweak those settings, and start shooting footage that stands out in the crowded world of creative services.
Contact
Interested in exploring creative possibilities with Dream Maker Media? Send us a message!