If you’ve invested in a DSLR camera, you’re likely eager to capture professional-quality images.
Yet, many beginners stick to auto mode, missing out on the creative control that makes DSLRs so powerful. One of the most valuable tips to elevate your photography is to master manual mode. By understanding how to adjust aperture, shutter speed, and ISO, you can tailor your camera settings to any lighting condition or creative vision. Here’s how to get started and why it matters.
Manual mode gives you full control over your camera’s exposure triangle: aperture, shutter speed, and ISO. Aperture controls the size of the lens opening, affecting depth of field. A low f-number (e.g., f/2.8) creates a blurry background, perfect for portraits, while a high f-number (e.g., f/11) keeps more in focus, ideal for landscapes. Shutter speed determines how long the sensor is exposed to light, impacting motion capture. Fast speeds (e.g., 1/1000s) freeze action, while slow speeds (e.g., 1/10s) create motion blur for artistic effects like silky waterfalls. ISO adjusts the sensor’s light sensitivity; low values (e.g., ISO 100) are great for bright conditions, while higher values (e.g., ISO 1600) help in low light but may introduce noise.
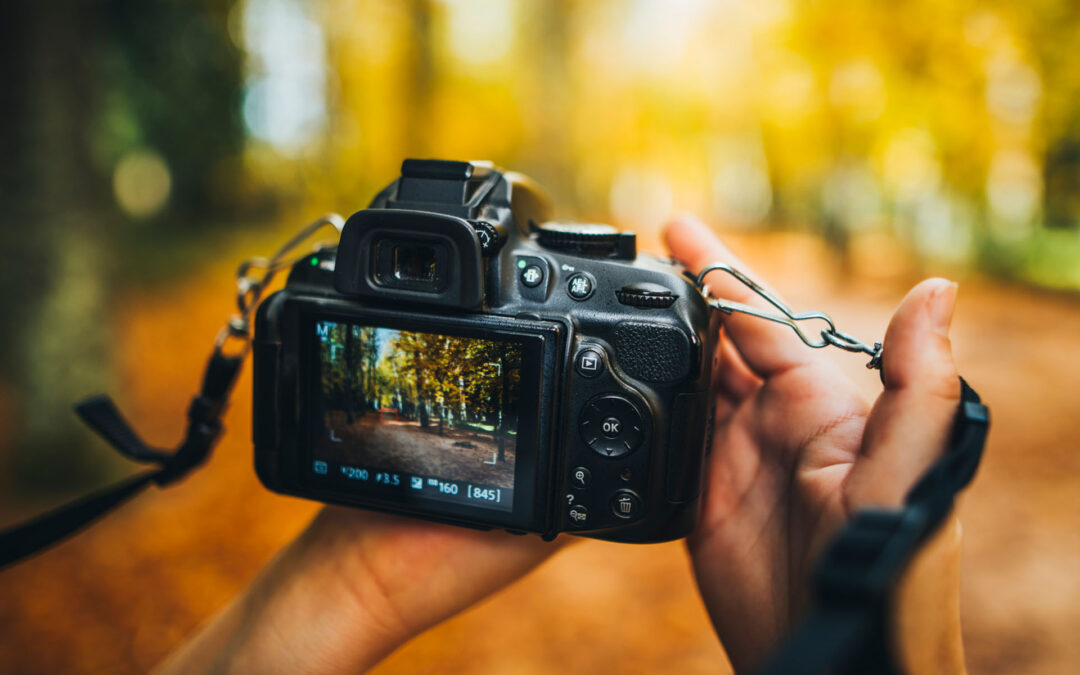
To start, set your camera to manual mode (usually marked “M” on the mode dial). Begin in a controlled environment, like your backyard during golden hour (the hour after sunrise or before sunset). Choose a subject—a flower, a pet, or a friend—and experiment. For a portrait with a blurred background, try f/2.8, a shutter speed of 1/250s, and ISO 100. Check the exposure meter in your viewfinder; aim for the marker to sit near zero for balanced exposure. If the image is too dark, lower the shutter speed (e.g., to 1/125s) or increase ISO. If it’s too bright, do the opposite.
Practice adjusting one setting at a time to understand its impact. For example, to capture a moving subject like a running dog, prioritize a fast shutter speed (e.g., 1/1000s) and adjust aperture and ISO to maintain proper exposure. In low light, like an indoor event, increase ISO to 800 or 1600, but be mindful of noise, especially on older DSLRs. Use a tripod for slow shutter speeds to avoid camera shake.
Why bother with manual mode? Auto mode relies on your camera’s algorithms, which often make safe but uninspired choices. Manual mode lets you dictate the mood and style of your photos. Want a dreamy, shallow depth of field for a wedding shot? You control the aperture. Need to freeze a soccer player mid-kick? You set the shutter speed. This control transforms good photos into great ones.
A practical exercise is to shoot the same scene with different settings. Take a landscape at f/4, f/8, and f/16, keeping ISO and shutter speed consistent, and compare how depth of field changes. Or photograph a moving car at 1/60s, 1/250s, and 1/1000s to see how motion blur varies. Review your shots on your camera’s LCD or a computer to learn what works.
Don’t be intimidated—manual mode takes practice. Use your camera’s light meter as a guide, and lean on partial auto modes (like Aperture Priority or Shutter Priority) if you’re transitioning from auto. Over time, you’ll develop an instinct for settings, making manual mode second nature. Invest in a basic photography course or watch free YouTube tutorials to deepen your understanding. Apps like PhotoPills can also help plan shoots based on lighting conditions.
Mastering manual mode unlocks your DSLR’s potential, giving you the freedom to create images that reflect your vision. Start experimenting today, and you’ll see your photography skills soar.
Contact
Interested in exploring creative possibilities with Dream Maker Media? Send us a message!